Thursday, July 2, 2009

Sophia at Liberty Park

Back when Abbey was in the midst of her Kickball playing I'd take Sophers to Liberty Park every Thursday. Watching kickball isn't very intriguing for a 2.5 year old, so we'd always end up over at the "swings". This day it was finally warm enough that she could play in the water feature at the park. One of the other little girls is from her Daycare, Lauren. When she showed up she said over and over again "Hi Lauren! Hi Lauren!" Hilarious.


Weeee!

Thursday, June 25, 2009

If it ain't broke, I'll fix it.

So I decided to put flex lines on the water heater because I don't apparently have enough to do already. That and I'm paranoid about gas leaks. This all looks pretty straight forward, but there was a lot of elbow grease required and I had to pull out the cheater bar to get some of the old connections to budge. Here's the new gas flex line installed with yellow Gas Line PTFE Thread Seal Tape on the ends. I checked after I connected it for leaks with soapy water, and everything was copasetic.
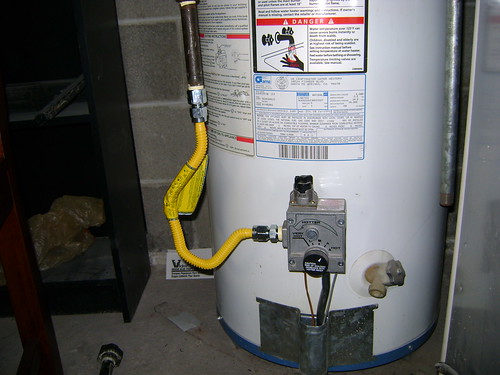
Flex gas line installed

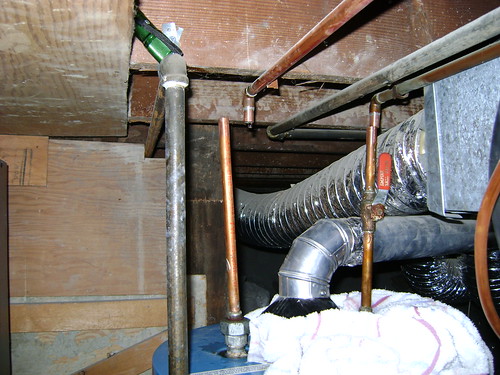
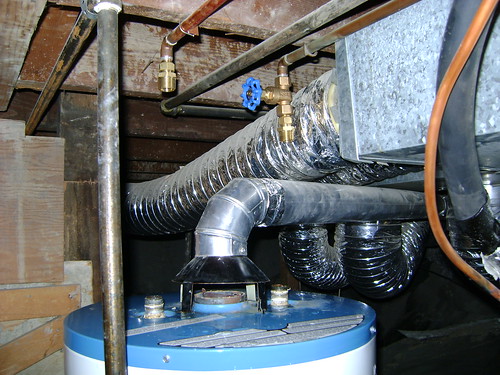
Here's the old water connections with the shut-off valve. They're 1/2" nominal copper pipe, which is unusual - the standard water pipe size on a water heater is 3/4" nominal copper. Note the dielectric unions to eliminate corrosion caused by battery effect between the copper pipes and iron in the heater.
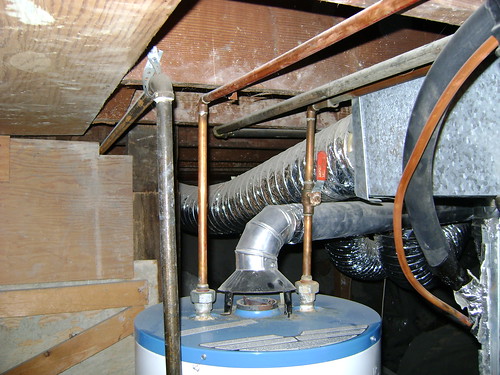
The original setup

I cleaned up the pipes where I'd be making my cuts and putting on my compression valves:
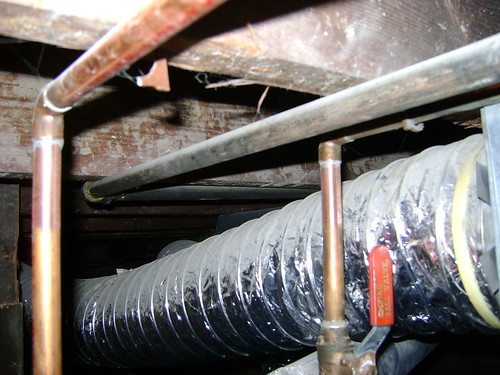
Pipes sanded clean

Here's my lovely water shut-off valve:

Turning off the water to the house

Here's my tight spaces circular pipe cutter ready to cut:
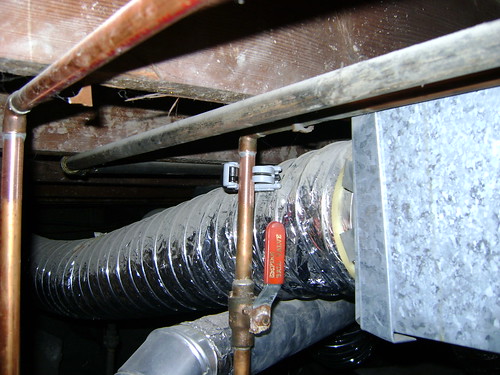
Cutter connected

No turning back now!

Pipes cut

Pipes gone, unions removed. I left nubs for my compression valves to attach to.

Pipes detached

Here's the new shut-off valve I made with a small piece of scrap copper joining it to the 1/2" copper to 3/4" MIPS adapter.
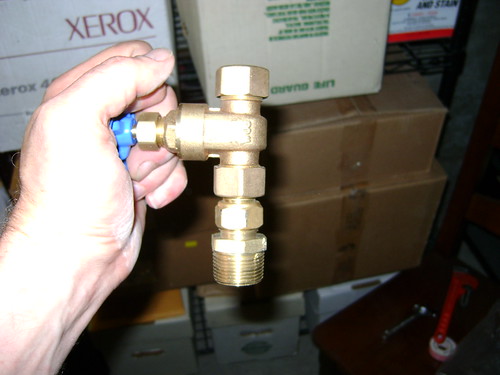
Compression fitting connected to valve

Adapter's and shut-off installed.

3/4" MIPS to 1/2" nominal installed

Here's my first try:

Attempt #1

The copper flex lines were really hard to work with and kinked pretty bad and then the whole thing ended up leaking anyway because the water heater nipples had corroded so bad I couldn't get a firm seal to the flex lines. Luckily I already had some new combination nipples / dielectric unions:
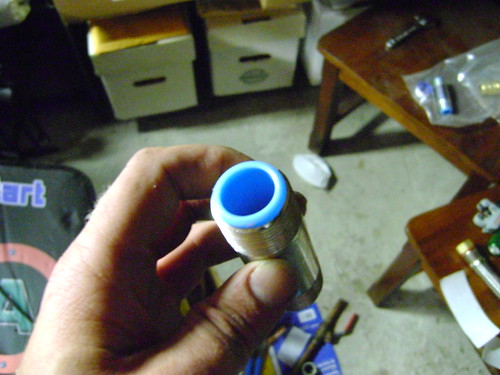
New dielectric Nipple

The old nipples were a B!TC# to get out, this is where I brought out the two foot long cheater bar to get the leverage to pull them out.
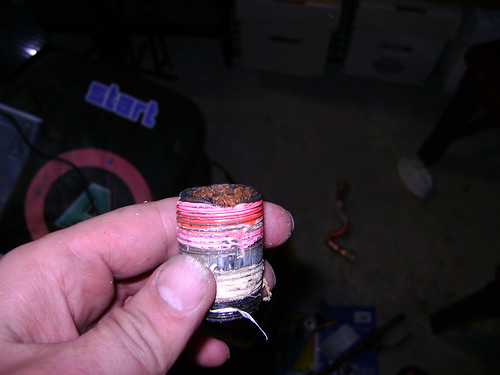
Nipple decay

Here's my second attempt with some steel sheathed "flexible" water heater connectors. These were the shortest that Home Depot sold - 15". No leaks but it looked awful, and the kinks would not smooth out.
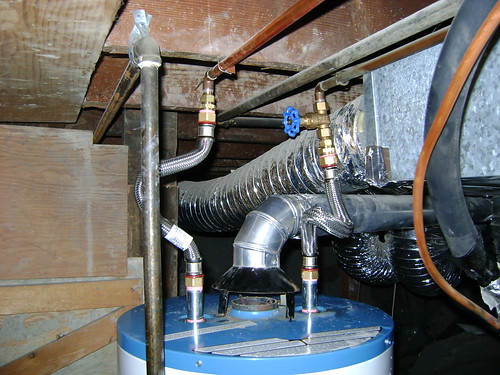
Attempt #2

This held for a couple days while I waited for the special order 12" stainless steel connectors I ordered online to arrive. They were cheaper than the Home Depot ones, got here super quick and were a dream to work with in comparison. Here's the finished project:
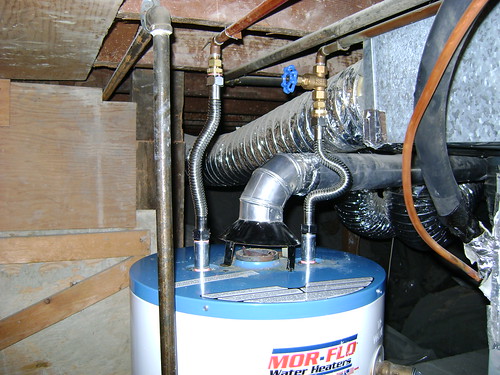
We have a winner!

I'm really glad I did this seeing how corroded the old nipples were. Next up: Installing the insulating blanket I have had sitting in the basement for the water heater for the last year.

Also, I will try to compete with my wifes awesome blog in the dimension of our super cute daughter. I have Lithium Batteries in the camera now so it shouldn't die every time I try to take pix, and I got a card reader ($13 at Office Depot!) so I don't have to find that dang proprietary cord every GD time. Also, we have pix from Abbey running the 5k in April that I should put up.

Oh, I dropped Sophers off at Daycare this morning where it was Bike Day. I let her ride her "bike":
Plasma Car

in to daycare so I could fit her helmet. It was hilarious because she did her victory laps she usually does when she goes in except zooming at top speed on her bike. Everyone was laughing and the other kids were screaming in delight. Too cute.

Sharpie

Thursday, March 12, 2009

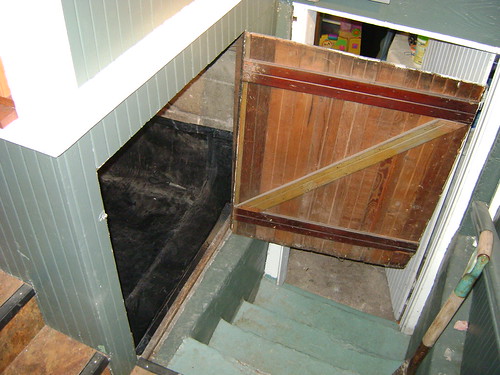
New Crawlspace storage area, no dollars

Crawl space insulation

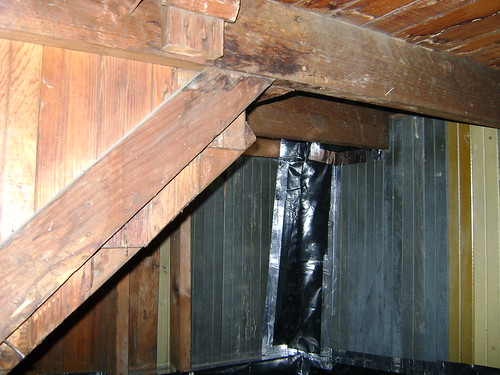
As with many home improvement projects it never occurs to me that I should take "before" pictures until I'm halfway done. So what you see above is the entry to the crawlspace storage area a previous owner created by partitioning off about 40 square foot of the crawlspace near the back stairs of our house. It had a dirt floor and was filthy and I wasn't quite sure how to get into it when I insulated the rest of the crawlspace last summer. Turns out it was just painted shut and I had to cut the door around some of the stair tread rubber edging that had been added since it was created. To get to this point I got the broom and cleaned out all the cobwebs, and then scooped all the loose rocks and dirt I could into a bucket and emptied that outside. Then I shop vac'd all over down there. Next I got some of the six mil plastic I had left over from doing the rest of the crawl space's vapor barrier, and cut it to fit in the space.

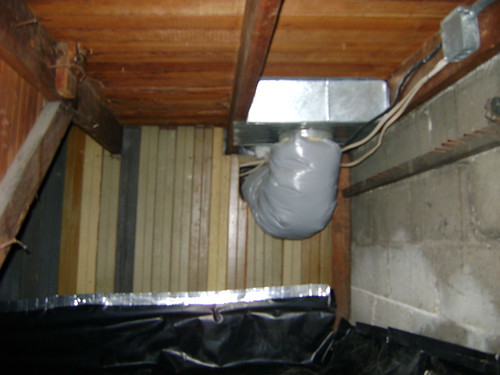
Crawl space insulation

This shot's kind of blurry but you can see that I've taped the plastic to the walls with aluminum tape that won't deteriorate over time. That insulated duct is the only return air duct in the back of the house. I removed all the nails to the left and ripped out the bizarre 2x4 with a row of nails to hang bits of wire on to the right. There was also a hole to the rest of the crawl space that I taped over with the plastic to stop a pretty strong cold draft into the space. You can see that below:

Crawl space insulation

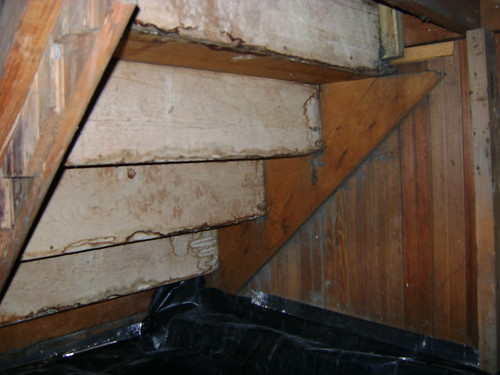
Here's where the people under the stairs would live:
Crawl space insulation

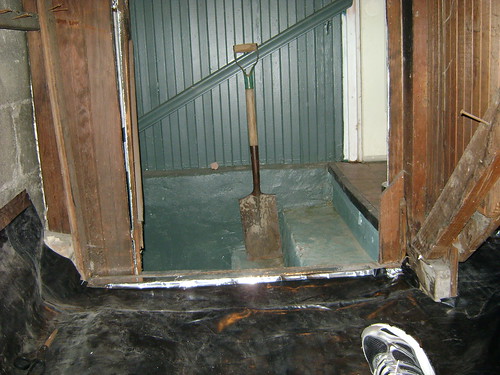
A crawl space with a view:
Crawl space insulation

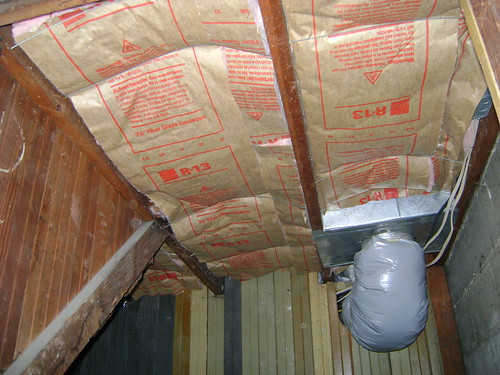
Okay so heres the finished insulation installed:
Crawl space insulation

What's not apparent is how bass ackwards the addition to my house is - none of the floor joists were installed by a sane man - the first two joists are spaced 21" on center, while the next two are 19" on center. Standard floor joist spacing? 16" or 24" on center, which is why the insulation batts come in 15" or 23" widths. So I couldn't tack them in with my hammer style staple gun, I had to get 24" insulation support wires and wire cutting pliers and cut every support wire to size. And cut a 4" insulation strip to fill the joist bay fully. At least the insulation was "free" as I had it left over from my garage insulation job (which is another blog topic I want to write about at some point). But that's 40 sq. feet of my house that wasn't insulated at all now done, which should hopefully make some difference. Plus some extra storage space to stash stuff in. I don't know how convenient it'll be, but we'll see I guess. Yay DIY home improvement!

Thursday, February 12, 2009

Valentime's roses

Here's Sophia smelling Abbey's Valentine's day roses:

Stop and smell the roses

"Flowers smell pretty!"

Stop and smell the roses

Whoa! Lets not get carried away, baby!

Then after I gave LM her bath last night, she was trying to lick her bath water and her wet towel and I kept telling her no, and "Yuck!" which she found hilarious. Then I was drying her off and she went to lick my shirt and I said "I don't care if you lick my shirt. Lick away." Apparently that's the funniest thing she'd ever heard and the rest of the night she was saying "LICK AWAY! ahahahha Lick away, Daddy!"

And now the monster story. She didn't want to get out of the truck after getting home from Daycare and was playing in the driver's seat, so I was bent over across her car seat with my knees against the side of the truck where should couldn't see them trying to convince her to come in with me out of the cold. I started drumming my knees against the truck and she looked surprised, and I thought "Aha! I know how I'll get her to come in." and so I said "Sophia! What's that sound? Where's it coming from?" Some amount of worry came over her face. "We better get inside, I don't know what that sound is." and she said "A monster, Daddy!" and I stupidly said "Yeah, lets hurry and get away from the monster!". Ha-ha! I'd succesfully gotten her inside! ...only to discover she wouldn't go in the back part of the house because "A monster, a monster! Ahhh!" So Abbey had to come home and see all this then explain to Sophia that the Dinosaur had scared the monster away. So now she comes home every day and the first thing out of her mouth when we walk in the door is "Monster gone, huh Daddy." Maybe one day I'll learn better.

Saturday, February 7, 2009

More old pix

We're doing blast from the past photo's over on Facebook, so I thought I'd throw up some old pictures of me.

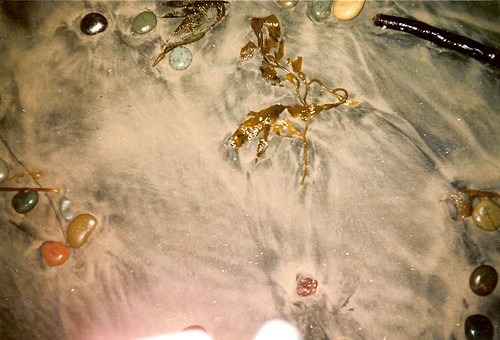
The first one here is just a photo I took on the beach in Mexico in the middle of the night. I thought it turned out really pretty

Sharpie02

Here is my dorky Junior (Nope it's my sophomore pic - I'm wearing a slimeballs skateboarding shirt in my Junior year photo) year school photo - the last year I attended highschool, before going into con-current enrollment over at UVSC.

Sharpie05

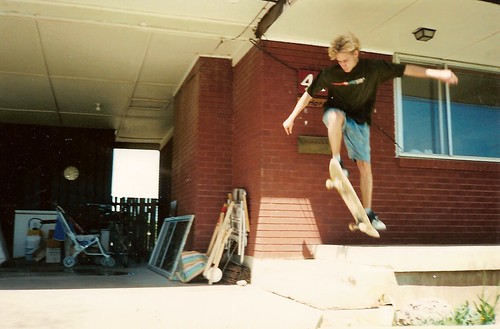
Another skating pic from the series I posted on FB earlier

Sharpie04

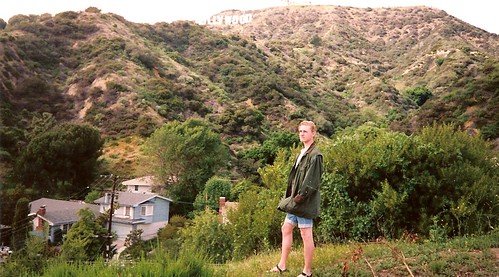
What's that? Oh I didn't hear you over the sound of how awesome the 90s can be while standing in front of the Hollywood sign.

Sharpie03

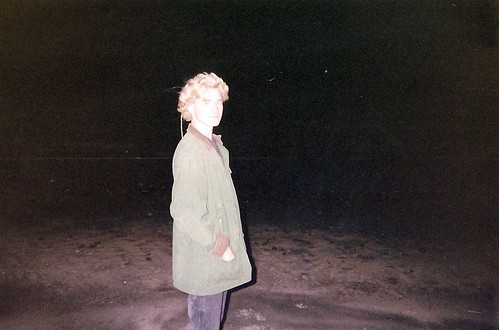
Another pic on that beach in Mexico with the dreaded rat-tail.

Sharpie01

Inexplicably, the San Diego LDS Temple open house.

Sharpie San Diego Temple

Friday, February 6, 2009

Getting dressed...

Daddy and Sophia

Getting dressed can be a challenge when you have such a dedicated helper...

Thursday, February 5, 2009

Ride 'em cowgirl!

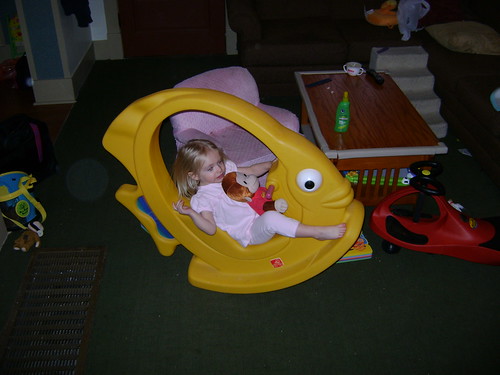
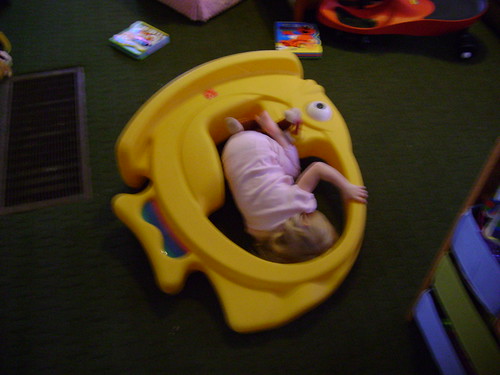
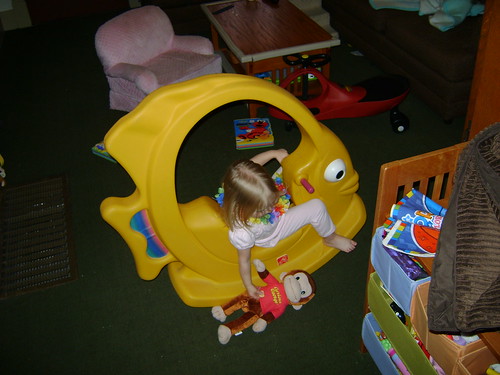
I got some great pics of Sophia playing with the fish Denise gave her for her first birthday and thought I'd post 'em up. I took them this morning with the Sony cam, cable be darned. I've taken to hosting everything on flickr since they have no size limits for your photo collection if you buy the pro account.

DSC00455

Yee haw! Note the monkey riding shotgun.

DSC00459

Disaster! Oh the Humanity!

DSC00462

Never leave a man behind!